As a person who lacks any formal graphic arts training but one who appreciates good quality design when she sees it, I’m always on the lookout for tools to beef up my creative arsenal. Over the past couple of years, I’ve curated quite an impressive collection, which I use primarily for tweaking photos, creating ads, and producing TikTok videos and book trailers. Some are ideal for beginners while others require more than just basic tech skills, but they all have one purpose in common: to take your creative content to the next level. Most of them are accessible right from your smartphone. Some are completely free. If you aspire to elevate the quality of your images, either for business or for fun, read on for my top four picks (plus a bonus one!).
1. Snapseed (a free photo editor for smartphones developed by Google and Nik Software)
First, a little history about what led me to discover Snapseed. It all started with my old iPhone 5C. When I first brought it home, I remember being amazed by the quality of the photos it cranked out while at the same time wanting more. That’s when I came across Snapseed in my search for an easy-to-use photo editing app. It has not disappointed in the five years since.
One could argue that the built-in editors on most smartphones these days—my current iPhone 11 Pro notwithstanding—already come with some nifty editing functions such as crop/rotate/straighten, an array of filters, and color/light adjustments to name a few. You can even add a basic vignette to your photos to darken the edges or use Portrait mode to achieve a passable depth-of-field effect.
However, by virtue of residing natively within the app, the features are quite basic, so when I want a little more control over the finer details in a photo, I pop it into Snapseed for tweaking. The app continually surprises me with all the features it offers, and I’m sure I’ve only scratched the surface.
My most-used Snapseed tools
- Tune Image – to adjust brightness, contrast, saturation, and warmth
- Selective – to zero in on a specific area of a photo, such as a face, to boost the brightness, contrast, or saturation
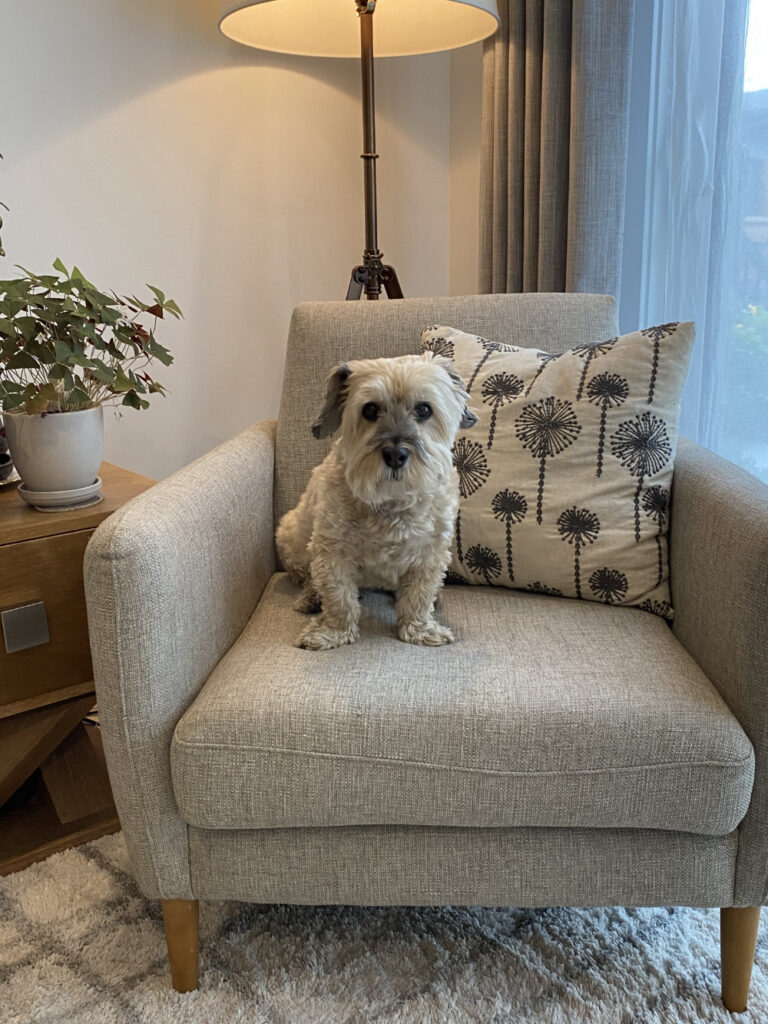
Original photo 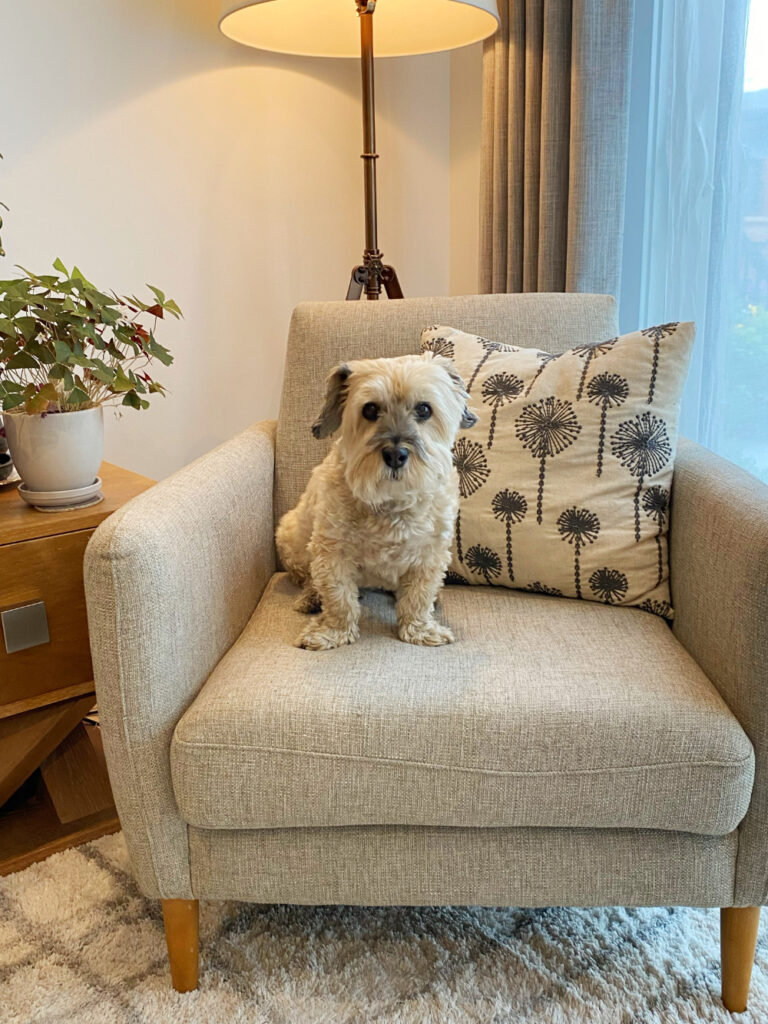
With adjustments to brightness, contrast, saturation, and warmth 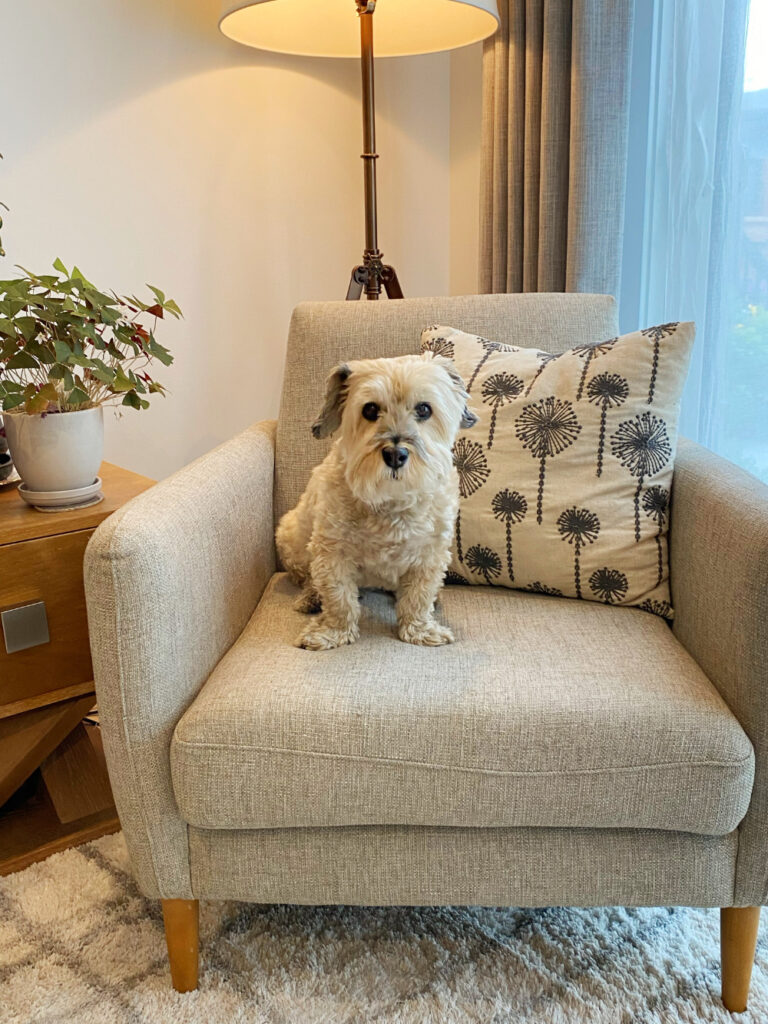
Selective adjustment to brighten up Tetley’s face
- Healing – to remove blemishes on faces or a distracting object in the photo
- Vignette and Lens Blur – both of these features serve similar purposes: to place more emphasis on the photo’s main subject. Vignette darkens the edges, whereas Lens Blur softens them or–if done well–can create the illusion of depth of field.
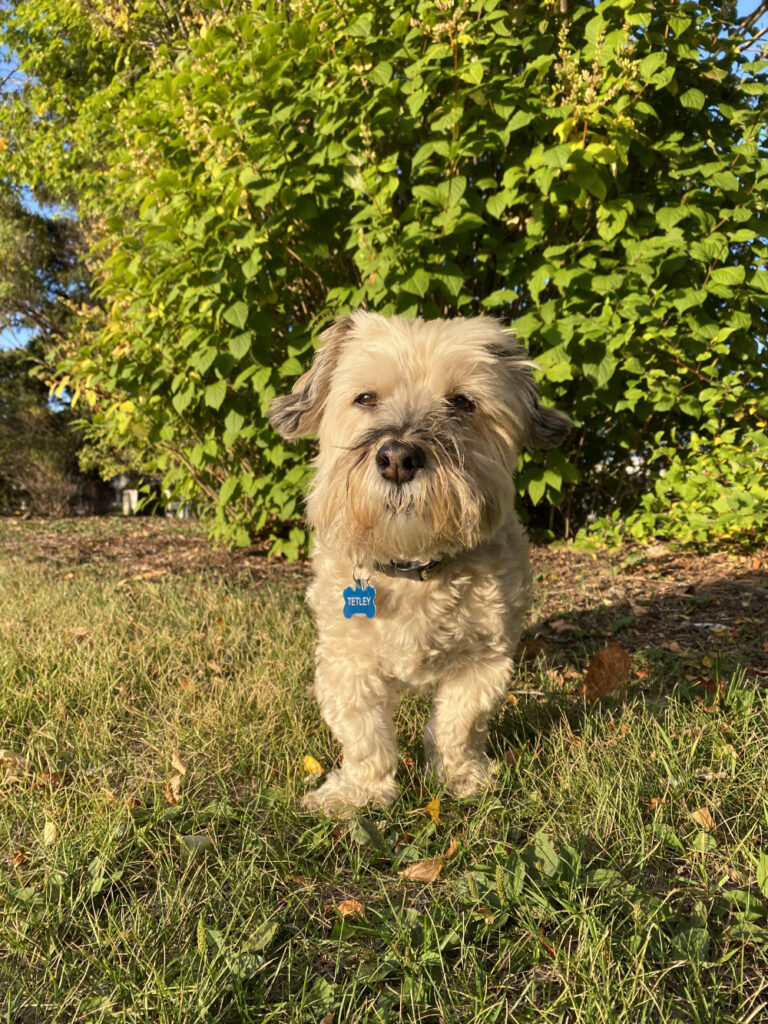
Original photo 
Dog tag removed with Healing tool 
Vignette and Lens Blur added to bring more attention to the subject
2. Canva (a free graphic design platform – or $16.99/month for the pro version)
Canva is hands-down the best graphics platform on the market, especially for beginners, and the free version is sufficient for most projects. There are hundreds of customizable premade templates to choose from to produce professional-looking invitations, social media posts, resumes, posters, book covers, logos, business cards, t-shirts…the list is endless. Think of a project you want to design and there’s a template for it.
And even if there isn’t a ready-made template suitable for your project, no problem. You can create a custom-sized document and start from scratch. Just download your own images (or choose from Canva’s repository of free photos and graphics), add text, and even animate your design. I signed up for the Pro subscription because I wanted access to the extra features that aren’t included in the free plan. However, I will likely downgrade to the free plan when it’s time to renew because the only extra feature I ever use is the Background Remover tool, which I will admittedly miss.
What I use Canva for:
- Facebook posts, ads and banners
- Memes
- Invitations
- Website images
- Logo creation
My most-used Pro plan tools:
- Background Remover
- Premium stock photos and videos
- Magic Resize – to instantly resize ads for different platforms
There are even more Pro plan features (many of which I don’t use) including access to thousands of extra templates, 100GB of cloud storage, the ability to add extra users, and the ability to schedule posts to eight social media platforms.
3. Affinity Photo (a professional-grade photo editor – $74.99)
While you might never have heard of Affinity Photo, you’re probably aware of its closest cousin, Photoshop. The two programs share many of the same powerful capabilities, but there’s one big difference: cost. Affinity is a one-time purchase, whereas Photoshop is subscription-based. I splurged for Affinity last year when I was looking for a more robust photo editing tool than what Snapseed and Canva were giving me separately, and I haven’t regretted it once.
That being said, I’m only just beginning to learn what’s under Affinity’s hood and often feel out of my league. Like I’ve just bought a Ferrari when a Kia would’ve sufficed. Fortunately, Affinity’s Help menu is extensive and can answer most questions about all the program’s bells and whistles. Once in a while, when I need a visual walkthrough, I end up on YouTube where there are a ton of comprehensive video tutorials to guide me through each step. Three cheers for YouTube University!
What I use Affinity Photo for:
- Retouching photos
- Creating memes, ads, and cover concepts
- Compressing/resizing images for use on my website and social media
- Background removal (Canva’s Background Remover is SO much easier to use for this purpose—one click!—but it doesn’t allow for fine tuning if you’re a stickler for perfection).
- Creating invitations, bookmarks, and greeting cards
4. Videoleap (video editing app for mobile devices – free and paid)
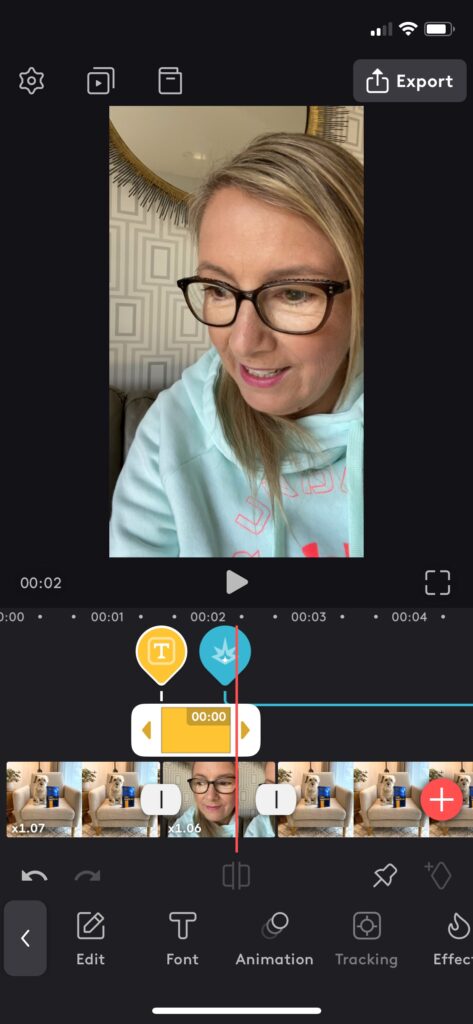
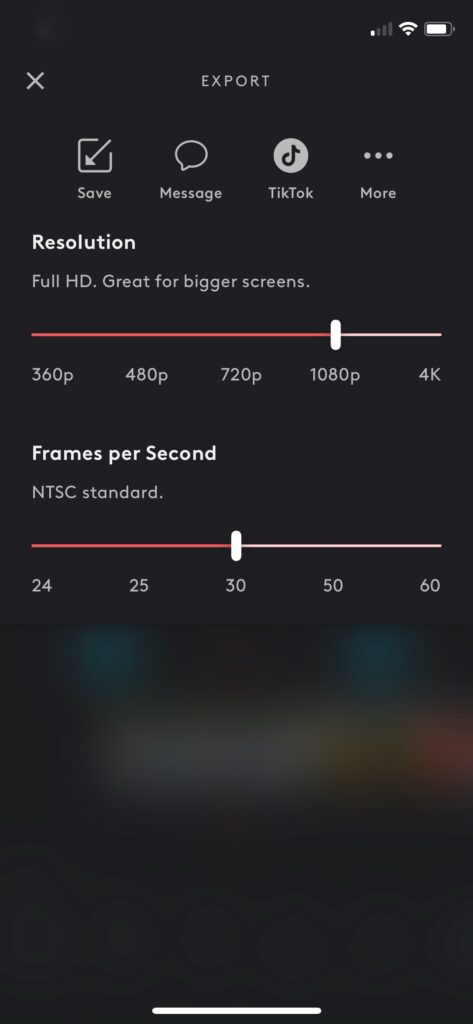
By far, Videoleap is my favorite application in my creative toolbox. I use it a lot. Although it comes jam-packed with features, it’s super easy for beginners (even for this middle-aged non-tech-savvy gal). You can easily add photos and video clips right from your camera roll or use stock content from within the app that you can reorder, trim, split, or flip then add transitions, music, sound effects, text, and graphics. And I just discovered a feature that allows you to unlink the audio from the video to use in a different part of the video. Mind blown. And once you’ve finished creating your video, you can choose to export it in one of five different resolutions including 1080p and even 4K!
For me, the biggest surprise was discovering I can output my videos directly to TikTok. As a newbie on TikTok, I’m finding the in-app tools extremely limited and clunky to use. Being able to produce my finished videos in Videoleap and then export them directly to TikTok will be a huge timesaver for me as I already know Videoleap inside out. One possible drawback is that I hear uploaded videos–as opposed to videos created right in the app–don’t get as many views, but I’m not too worried. I’m not looking for TikTok fame by any means. I’ll be sure to post a future blog about my experience with the Videoleap/TikTok combination, even if it doesn’t go well!
Anyway, those are just some of the basic features of this hearty little app. It packs a punch. I haven’t experimented with the more advanced modes yet: blending, masking, and green-screen options, but they’re all on my to-learn list.
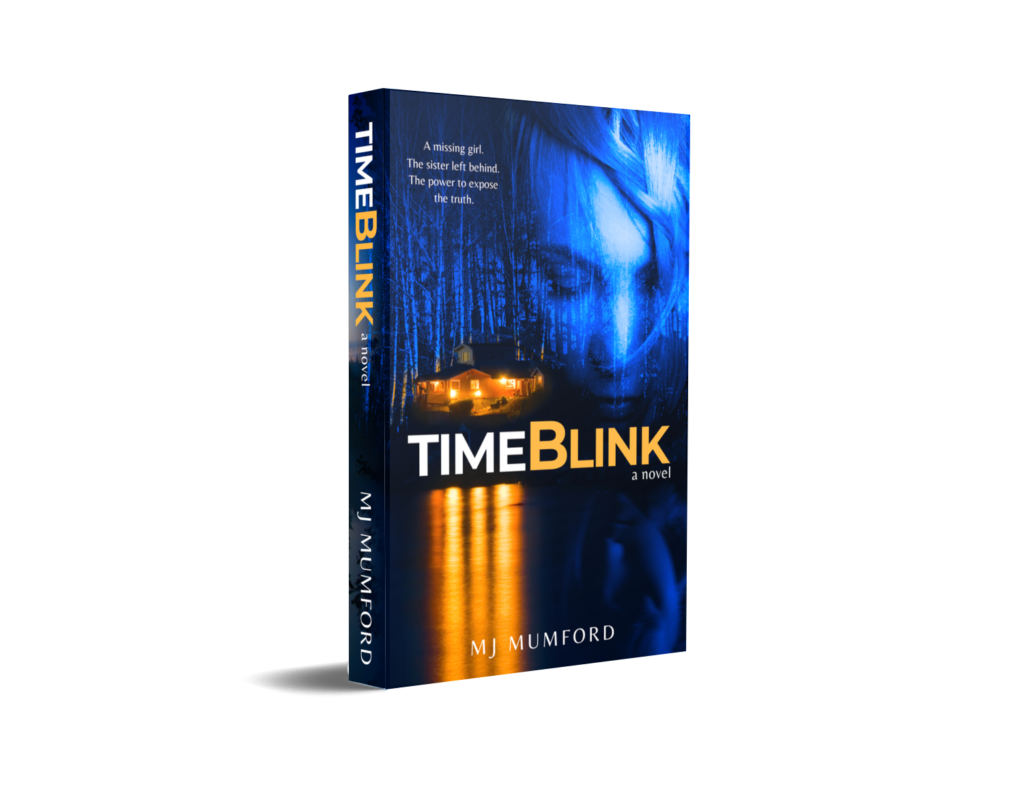
At the time of this writing, there is a free, fully functional version available, as well as a paid subscription for about $70 a year, which for me, is worth the unlimited access to all the tools. Check out the 60-second book trailer I created entirely on my iPhone 11 Pro using this amazing app.
5. Bonus app: My Talking Pet
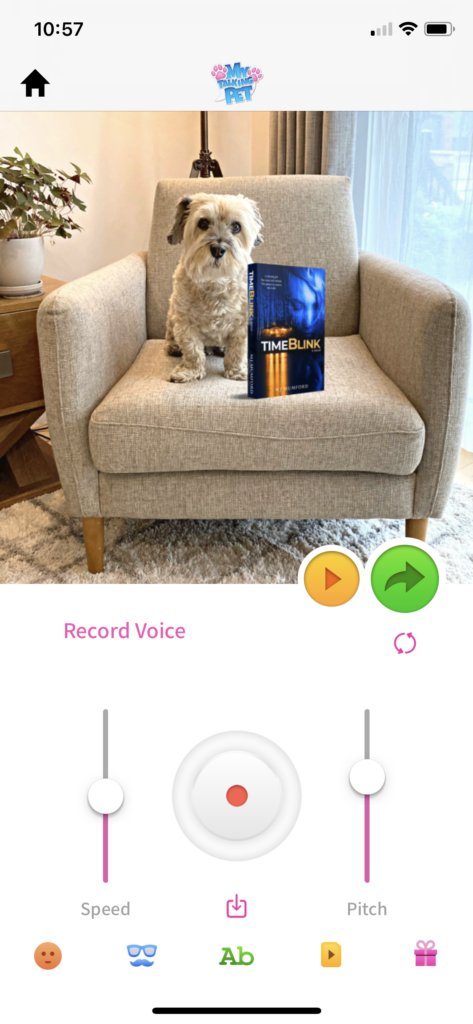
Ever wondered what your dog would say if he could talk? My Talking Pet is a thoroughly silly app I discovered a couple of years ago to do just that: put words in my dog’s mouth. I’ve created Covid PSA videos with my (now dearly departed) pup, Chai, and sent out “Happy Apocalypse Birthday” greetings to friends. I’ve also recently joined TikTok and have posted a bunch of videos featuring my dog, Tetley, voicing his thoughts about my writing–whether I want to hear them or not!
Your turn! Do you use any of these awesome design tools? Or do you have your own favorites? What are they? Send me a message or leave a comment.

